
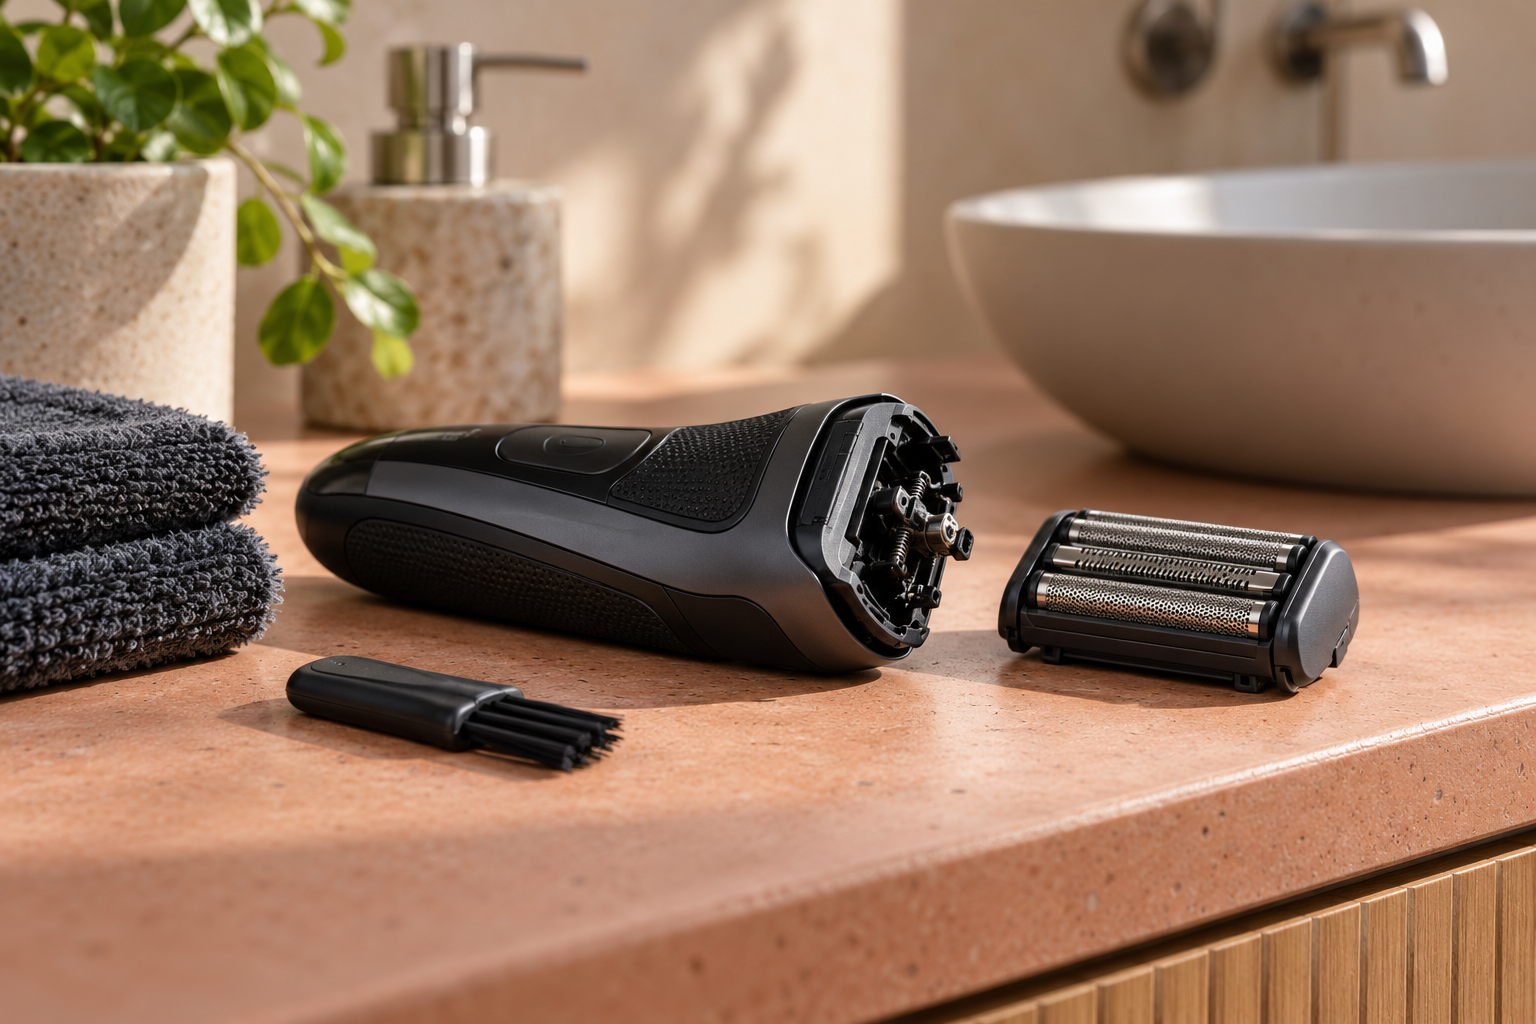
Before You Rinse an Electric Shaver, Check What Can Get Wet
The quickest way to clean an electric shaver seems obvious: put it under the tap and wash the hair away. That may be appropriate for your model, or it may be exactly the wrong treatment. Similar-looking shavers can have different cleaning requirements.
Before adding water, identify the device and find its own maintenance instructions. A dependable routine starts with knowing which parts can be rinsed, which need dry cleaning, and how the head should be handled. The packaging phrase you remember from the purchase is not enough detail.
Match the instructions to the actual model
Look for the model identifier on the device or its documentation, then use the manufacturer’s official manual. Check that the illustrations match your head assembly and attachments. A guide for another product in the same range may describe a different release mechanism or cleaning method.
Keep a saved copy of the relevant page where you can find it again. If the identifier has worn away, photographs of the product and its charging connection can help the manufacturer’s support team identify it. Avoid experimenting with water while the model remains uncertain.
Distinguish permission to rinse a component from permission to use the whole device in a shower or immerse it. Treat each permission as specific. Charging equipment and cleaning stations also have their own instructions; do not assume they share the shaver’s water resistance.
Separate the power question from the cleaning question
Disconnect the shaver from mains power before cleaning. Philips explicitly includes this instruction in its shaver guidance and distinguishes models suitable for water cleaning from those that are not. Its symbols and procedures should be interpreted alongside the model’s manual.
Start with the device switched off before detaching parts. Some approved cleaning procedures call for briefly running a cordless shaver during a rinse, while others do not. Follow that specific sequence only if your manual calls for it, rather than transferring the method from an online demonstration of another model.
Set the detached parts on a stable surface away from the drain. A small tray makes it easier to keep track of them, particularly when several pieces look similar. Only remove components the instructions identify as user-removable.
Use water or a brush where each belongs
For a model approved for rinsing, follow the stated water temperature, detergent, and rinsing instructions. “Washable” is not permission to add any household cleaning liquid. Use a cleaning solution only when the manufacturer allows it for the relevant parts.
For dry cleaning, use the recommended brush and reach only the areas specified. Braun, for example, warns against brushing the cutter foil. A brush that is suitable for an accessible cutter area can be unsuitable for the thin surface that contacts your skin.
Be equally cautious with pressure. Scraping at a delicate surface or forcing a stiff release catch is not a substitute for understanding the assembly. If a part will not move as the manual describes, stop and check the orientation before trying again.
Make drying part of the routine
Cleaning is not finished when the visible hair has disappeared. Philips advises allowing rinsed components to air dry. Braun’s model-specific guidance also describes leaving the head assembly able to dry after cleaning. Follow your device’s drying and reassembly instructions before storing or charging it.
Choose a clean place where small parts will not be knocked into the basin or mixed with another device’s attachments. Keep the arrangement simple enough that you will use it after an ordinary weekday shave, not only during an occasional deep clean.
A compact routine might be: check the approved method, disconnect, clean the permitted parts, leave them to dry as directed, then reassemble. Put those steps on a private reminder if you need one. The reminder should reflect your manual rather than becoming a generic rule for every shaver in the household.
Treat cleaning and replacement as different decisions
If shaving performance changes, inspect the head for trapped hair, incorrect assembly, and visible damage within the limits of the manual. Cleaning may address debris, but it cannot repair a torn foil or another damaged component. Do not keep using a visibly damaged cutting head against your skin.
Check the manufacturer’s replacement guidance for the specific head, including how to identify the correct part. A similar-looking replacement is not necessarily compatible. Keep the model information with your saved maintenance page so that the next purchase is easier to verify.
Lubrication also varies by design and cleaning method. Use the specified product and interval where lubrication is required; adding an unsuitable oil is not an upgrade to the routine.
The useful habit is modest: know the model, respect the delicate parts, and finish the drying step. Once those details are settled, caring for the shaver can become a repeatable part of grooming instead of a hurried guess beside a running tap.