
The Soil in Your Test Bag Should Represent the Bed You Want to Grow
You scoop soil from the easiest corner of a garden, send it to a laboratory, and receive a detailed report. The numbers look precise. Yet if that corner was recently covered in compost while the rest of the bed was not, the report may answer the wrong question.
A useful soil test begins with deciding what area the sample should represent. The laboratory measures what arrives in the bag. Your collection method connects those measurements to the plants and ground you want to manage.
Choose the question before the test
For a general fertility question, look for a laboratory that provides recommendations suited to your region and intended crop. A routine garden test may measure pH and selected nutrients, but included measurements differ between services. Read the test description rather than assuming every possible problem is covered.
Soil pH describes how acidic or alkaline the soil is. Nutrient measurements help inform fertilizer recommendations. Neither, by itself, explains every case of poor growth. Shade, compaction, drainage, pests, and damaged roots may also need investigation.
If you are concerned about lead or another contaminant, ask specifically about the appropriate test and sampling procedure. A routine fertility report is not a certificate that soil is free of contamination. Container potting mixes may also require a different testing service from outdoor mineral soil.
Draw boundaries around genuinely similar ground
Think in areas you would be willing to manage in the same way. A vegetable bed, an established lawn, and a shrub border usually deserve separate samples because their use and management differ. Two beds with different amendment histories should not automatically share a bag.
Within one reasonably uniform bed, collecting small portions from several locations helps avoid letting a single handful stand for the whole area. These small portions are often called subsamples. Mixed together, they form a composite sample.
Keep an unusual patch separate when the patch itself is the question. Mixing soil from a poorly growing corner with soil from healthy ground can blur the difference you want to investigate. Tell the laboratory what you are comparing and ask whether it needs additional information.
A simple sketch is enough to preserve these boundaries. Mark the front bed, the side border, or another recognizable location. Labels such as “garden one” become less helpful after you forget which area you sampled first.
Use the laboratory’s depth and handling instructions
Read the collection directions before starting. Sampling depth depends on the growing area and the laboratory’s recommendations. Lawn instructions may differ from those for cultivated vegetable beds. Consistency within each sample matters more than choosing a depth from memory.
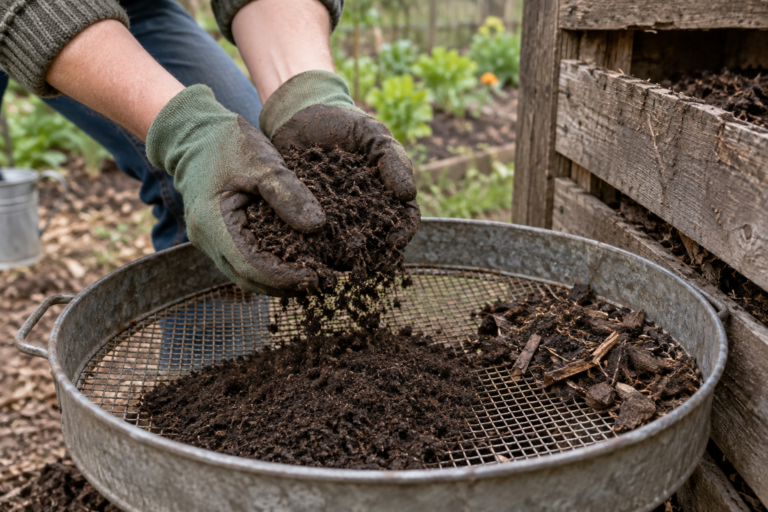
Use a clean trowel or soil probe and a clean plastic bucket. Avoid a container that held fertilizer, lime, or other materials that could contaminate the sample. Remove surface litter as directed, then collect comparable portions through the requested depth at locations spread across the area.
Do not collect only the loose, dark surface layer if the instructions call for deeper soil. Likewise, avoid adding an oversized scoop from one location to tiny pinches from the others. Each portion should contribute reasonably evenly to the mixed sample.
If fertilizer or another amendment was recently applied, ask the laboratory about suitable timing. Sampling directly from a concentrated deposit can produce a result that does not describe the surrounding soil.
Mix, label, and package deliberately
Combine the subsamples from one defined area thoroughly. Follow the laboratory’s directions for removing stones and debris, drying, sample quantity, and packaging. Do not improvise oven drying to hurry the process. Different tests can have different handling needs.
- Use the same sample name on the container, request form, and garden sketch.
- State the crop or planting you intend to grow.
- Describe recent amendments or a specific growth problem when requested.
- Check shipping restrictions and submission requirements before sending soil.
Clean the tools and bucket before moving to a separate area. Keep the bags apart while labeling them; two accurate samples with swapped names can lead to the wrong treatment in both beds.
Keep the result connected to the garden
Save the report with the sampling date, location, depth, and relevant management history. When recommendations arrive, confirm the area and crop are correct before applying anything. Ask the laboratory or local extension service to explain unfamiliar units or recommendations.
For a later comparison, use a consistent method and a similar sampling season where practical. Record what you changed between tests. Otherwise, a difference in the numbers may be difficult to interpret.
The purpose is not to collect the prettiest soil or to obtain an impressive report. It is to send a small, well-chosen representation of a clearly defined growing area, so the advice you receive has a dependable connection to the ground outside.